Being able to accept payments online on the website is essential for everyone who running eCommerce shops or other online services.
If you are thinking, accepting payment online is not an easy task.
Then, you are wrong.
Accepting payments online has become an easy task nowadays.
With the wordpress WPForms plugin, you can create a payment form and accept credit card and debit card online payment in less than 5mins.
WPForms is the best form builder for wordpress websites.
With WPForms, you can create a contact form, registration form, payment form, subscribe form, and more.
In this article, we will show you how to create a payment form and accepting payment online on your wordpress website with the help of authorize.net and WPForms.
Table of Contents
ToggleWhat is authorize.net?
Authorize.net is a payment gateway service provider to accept credit card and electronic check payments through your website.
Some notable features of authorize.net are,
- Digital Invoicing – No need to waste your precious time on paper invoices, with authorize.net, you can send custom digital invoices to any customer easily.
- Recurring Payments – with automated recurring billing(ARB), you can accept monthly recurring or installment payments. Your customers will be satisfied with this flexible option to pay.
- Advanced Fraud Protection – It prevents fraudulent transactions with the help of authorize.net’s built-in Advanced Fraud Detection Tool(AFDT).
- Payment Types – Authorize.net Makes an easier way for your customers to pay with major credit cards, signature debit cards,eChecks, and online payments.
You can accept payments online worldwide, but your business should be based in United States, Canada, United Kingdom, Europe, or Australia.
The below table refers to which type of currencies authorize.net supports.
Business Location | Supported Currencies |
|---|---|
United States, Canada | USD, CAD |
Australia | AUD, NZD, USD |
United Kingdom, Europe | CHF, DKK, EUR, GBP, NOK, PLN, SEK, USD
|
Is authorize.net safe?
It is one of the safest payment gateways to accept payments online, with an advanced fraud detection tool (AFDT) offered by authorize.net.
It manages and prevents costly fraudulent transactions.
And it is included with multiple filters and tools to defend against fraudulent transactions.
- Amount Filter – you can set lower transaction and higher transaction limits to prevent high-risk transactions.
- Hourly Velocity Filter – you can set the limit of the total number of transactions per hour.
- Suspicious Transaction Filter – Authorize.net fraud management team will review some suspicious transactions.
- IP Address Blocking – Blocks the transactions from an IP address that seems to be fraudulent activity.
- Shipping Address Verification Filter – Verifies that the shipping address used for the order is valid or not.
- Shipping-Billing Mismatch Filter – Identifies high-risk transaction that is made from stolen credit cards.
- Enhanced CCV Handling Filter and more…
The wait is over, in the next section of this article we will see on creating a form and accepting payments online.
Now you can accept online payments easily on your website with wpforms and authorize.net 🎉💸 #wpforms #authorize.net
How To add an authorize.net payment form to your website?
This section is divided into 6 steps, in this way you can easily understand and implement authorize.net with WPForms to accept online payments,
- Installing WPForms wordpress plugin
- Making an account in authorize.net
- Getting your API key
- Configuring WPForms Authorize.net add-on
- Creating your payment form
- Publishing your form
Step 1: Installing WPForms wordpress plugin
Click here, to get an elite license of WPForms
After getting an elite license of WPForms.
Go to your WordPress dashboard → Plugins → Add new → Upload the plugin → Install → Activate the WPForms plugins
Now, you have activated the WPForms elite plugin.
It’s time to make an account in authorize.net.
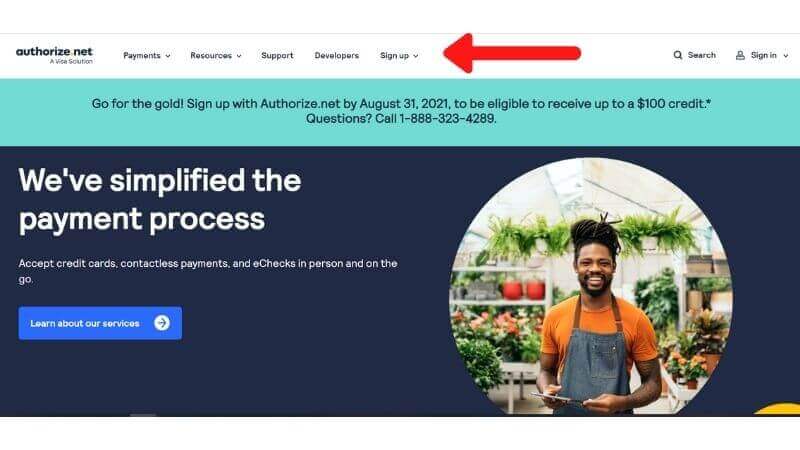
Step 2: Making an account in authorize.net
The first things first, sign-up in authorize.net
Click here, to sign-up in authorize.net
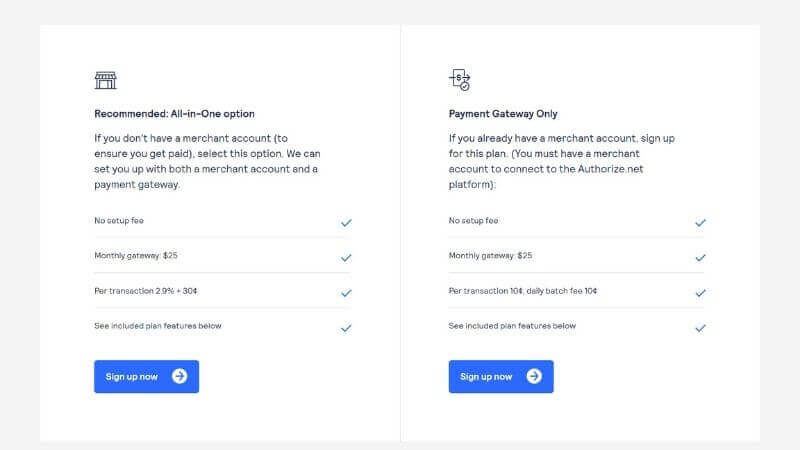
Choose the account based on your needs.
Step 3: Getting your API key
To start accepting payments online on your website, you will need to configure the WPForms authorize.net add-on, for that ,you need an API key, follow the upcoming steps to get your API key
After signing up to authorize.net,
Go to Account → Settings

Under General security settings, click API credentials and keys.

On that page, you will see the API key.
Copy the API key and you will need it later.
Now,
You need to create a transaction key.
In the API credentials and keys page, to create new transaction keys, click obtain → Choose new transaction key → Submit
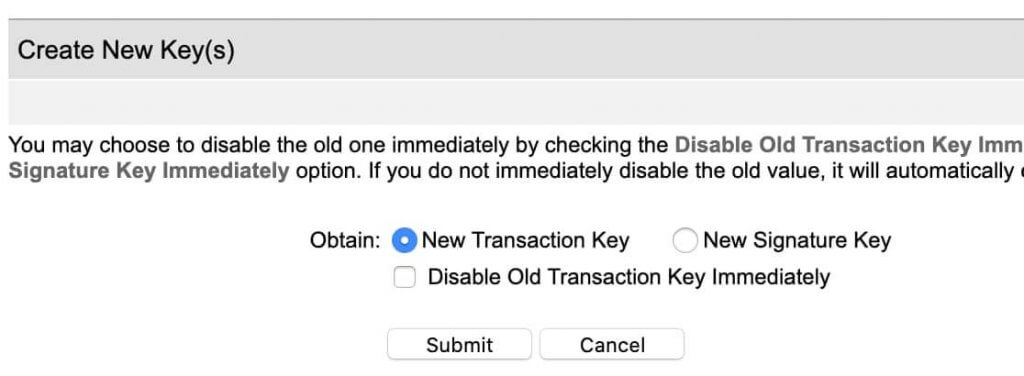
Then,
Authrorize.net will send you a pin to your email address, copy and paste the pin to get your transaction key.
Now, you got the API key and Transaction key, It’s time to configure it with your WPForms.
Step 4: Configuring WPForms Authorize.net add-on
Install and activate authorize.net add-on in WPForms.

Paste the API key and Transaction key in the input fields.

And Go to WPForms → Settings → Payment → Choose your currency

Now,90% of the process is over.
One last step to create your form.
Let’s do it.
Step 5: Creating your payment form
To create a form, you have two options,
- Create a form on your own with WPForms form builder.
- Choose between 100+ templates that WPForms offers.
Here, you can see, I have chosen the t-shirt order form template, you can choose any other template also.
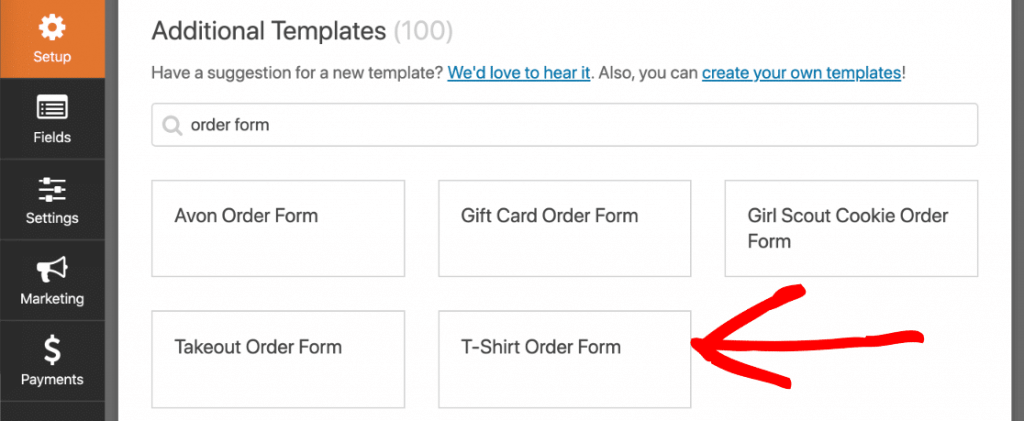
After choosing your template, it will take you to the WPForms form builder page.
Here, you can align or add input fields by using drag and drop WPForms form builder.
Click save to save your form.
Step 6:Publishing your form
Once you saved your form, you can embed your form anywhere you wish.
Go to WPForms → All forms → Copy the shortcode of the form.
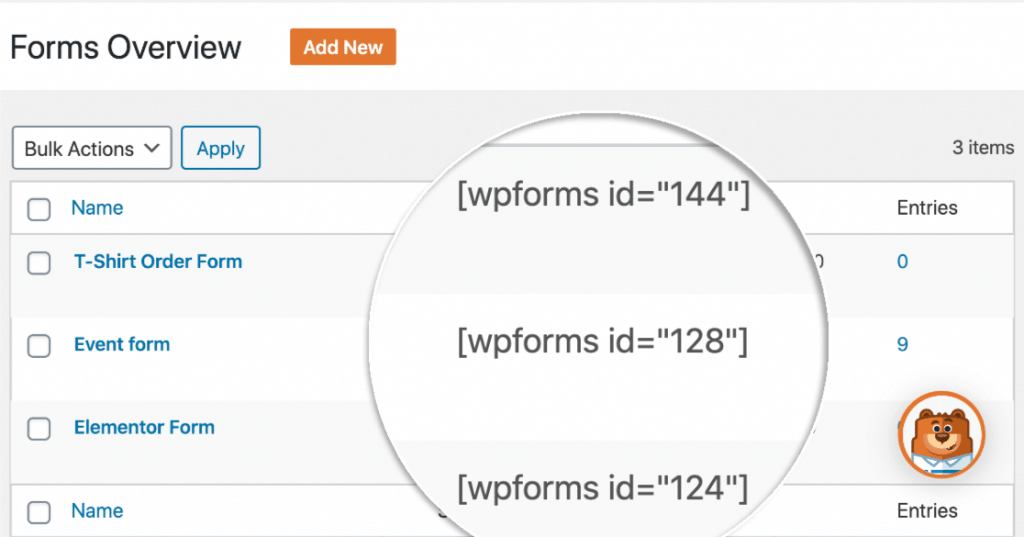
Paste the shortcode into any page using the shortcode widget.
You can also create a non-profit donation form with the help of WPForms and authorize.net
Now, you are all set to go and accept your payments from customers all over the world.
Enjoy Earnings 💸
Conclusion:
So far, we have seen how to create a payment form with WPForms add-on authorize.net in this article.
While this authorize add-on comes with WPForms elite plan only.
That costs 229.50$/per year.
After purchasing, if you don’t like WPForms over the next 14 days, contact them, they will refund your money,100% of your money will be refunded within 24 hours.
Yeah, I know that’s expensive for people having small businesses.
But, keep in mind, WPForms comes lots of features like
- Unlimited Sites
- Premium Support
- WordPress Multisite Support
- Conditional Logic
- Geolocation
- Salesforce
- Surveys and Polls
- Stripe
- Email marketing forms(Mailchimp, Getresponse,..)
And a lot more.
It reduces form abandonment and increases your conversion.
If you are a freelancer or agency, this will help you a lot, it’s worth going to.
You can install WPForms on your client’s websites, there is no limit and you can charge your clients some bucks for WPForms installation.
I hope you understand, if you need any help in setup, you can contact us.
Thanks for reading this article.
Consider sharing our blogs and keep supporting us.